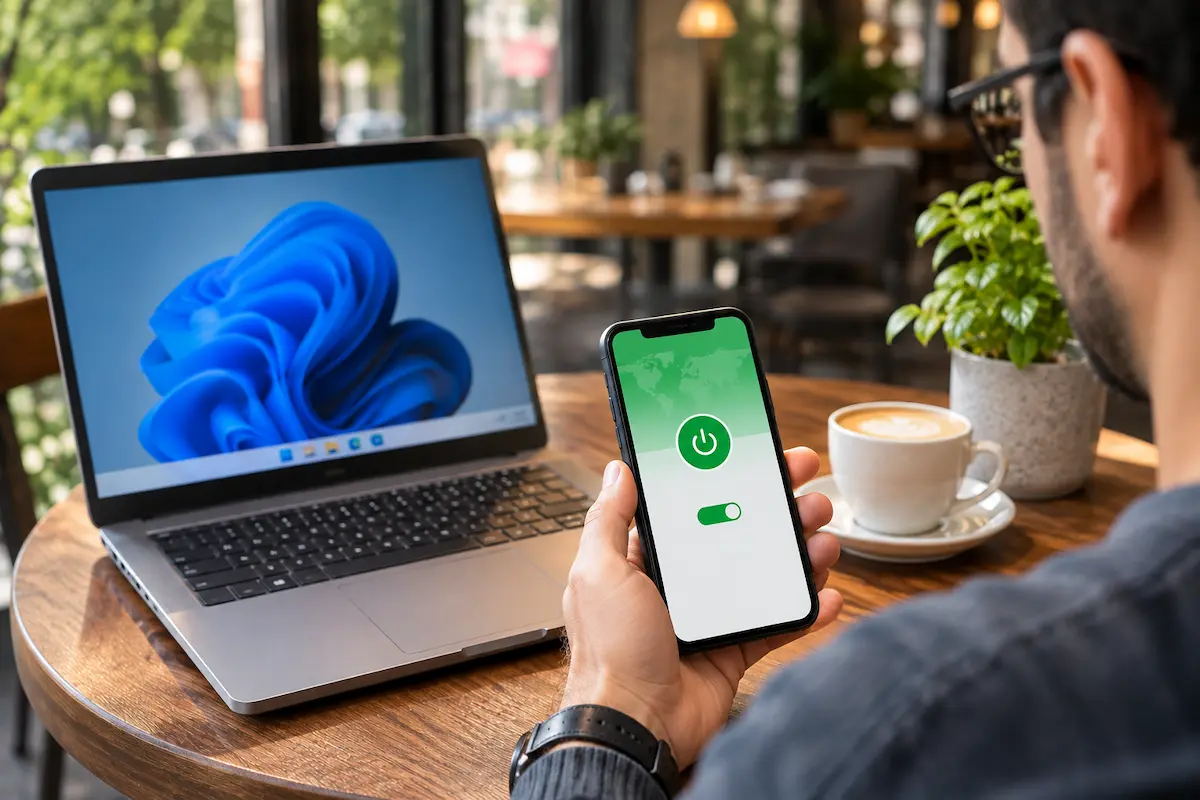
You are sitting in a cafe and you need a file that lives on your computer at home. Or you are on public Wi-Fi and you do not really trust it. A home VPN fixes both problems. You set it up once, it costs little or nothing, and from then on your home network is reachable from anywhere.
This guide shows two ways to do it. Tailscale is the easy way and takes about ten minutes. WireGuard is the do-it-yourself way for people who like to tinker. I explain every step in plain words, and I added small pictures so you can see what to expect on your screen. If you have never done anything like this before, that is fine. You can do it.
What a home VPN does (and does not do)
Most people know VPNs as paid apps that change your location so you can watch a different streaming catalog. A home VPN is a different thing. It builds a private, scrambled "tunnel" between your phone or laptop and your own home network. While the tunnel is on, your phone behaves as if it were sitting on your couch at home.
Here is what that gives you:
One thing to be clear about: a home VPN does not make you anonymous. If you send your web browsing through it, websites see your home internet address, not some other country. It is a tool for access and safety, not for hiding.
tunnel
Photos
Cameras
Printer
Storage
Four words you will see
You will meet a few technical words in this guide. Here they are in plain language, so nothing surprises you later.
Tailscale or WireGuard: which one should you pick?
WireGuard is a modern, fast and free VPN technology. Tailscale is built on top of WireGuard and does the fiddly parts for you. So you are not choosing between two different things. You are choosing how much of the work you want to do yourself.
| Tailscale | WireGuard (your own server) | |
|---|---|---|
| How hard is it? | Easy, a few minutes | Medium, some technical steps |
| Changes in your router | None | You open one "door" in the router |
| Works if your provider shares addresses | Usually yes | Usually no |
| Who is in control? | You rely on a Tailscale account | You, completely |
| Cost for home use | Free for personal use | Free |
If this is your first VPN, start with Tailscale. If you later want to depend on nobody else, or you simply like knowing what runs under the hood, move to WireGuard.
A quick note about cost. Tailscale's free Personal plan covers up to 6 users and does not limit how many devices those users own. It is meant for personal, non-commercial use, so a business would need a paid plan. Plans change from time to time, so take a quick look at Tailscale's pricing page before you rely on this.
Why people like Tailscale
It works in minutes, needs no router changes and has apps for phones, laptops and many other devices.
The trade-off
You depend on an account with a company. Sometimes the connection takes a longer route through that company's servers, which can be a bit slower.
What you need before you start
For both methods you need one device at home that stays switched on all the time. It does not have to be powerful. It is the "front door" your phone connects to.
You also need a phone or laptop to connect from. Tailscale and WireGuard both have apps for Windows, Mac, Linux, Android and iPhone.
Method 1: Tailscale, step by step
With Tailscale you do not change any router settings and you do not write any configuration files. Every device you add gets its own private address and can see your other devices, as if they were all in the same room. Think of it as three small jobs: make an account, install the app on your home device, and install the app on your phone.
- Create your account. Go to tailscale.com and sign up with an account you already have, such as Google, Microsoft, Apple or GitHub. There is no new password to remember. When it asks, choose Personal use.
- Install Tailscale on your home device. Download the app for Windows or Mac from the Tailscale website, or add it from your NAS's app store. On a Raspberry Pi or other Linux computer, see the tip below.
- Sign in on the home device with the same account. A page in your browser asks you to approve the device. Click to approve and you are done with the home side.
- Install the app on your phone or laptop and sign in with the same account.
- Open the app. Your home device now shows up in a list with a simple name. If it shows as connected, the tunnel works.
Step 3 is the one that confuses most people, so here is what it looks like in a typical router. Every brand looks a little different, but you will always find the same three things:
Port forwarding
Send traffic arriving from the internet to a device in your home network.
+ Add rule| Name | Type | Port | Send to | Internal port | On |
|---|---|---|---|---|---|
| Web panel | TCP | 8080 | 192.168.1.20 | 8080 | |
| WireGuard | UDP1 | 518202 | 192.168.1.503 | 51820 |
Here is what steps 1 to 3 look like on screen. The orange circles show where to click:
Log in to your network
Connect this device?
From now on you can open your files using that name, even if you are in another city. Nothing else to set up.
If your home device runs Linux, open the Terminal, which is the window where you type commands, and paste these two lines one after the other. The first installs Tailscale, and the second starts it and shows you a link to approve the device.
curl -fsSL https://tailscale.com/install.sh | sh
sudo tailscale up
Next steps, only if you want them
Once the basics work, Tailscale can do two more useful things. You do not need either one to get started.
- Reach devices that cannot run the app. A printer or a camera cannot install Tailscale. Your home device can act as a bridge for them. Tailscale calls this a "subnet router", and its help pages explain the steps.
- Use your home internet while you are away. You can choose your home device as an "exit node" in the app. Then your whole connection goes out through your home internet, which is handy on untrusted Wi-Fi.
Method 2: WireGuard, for people who like to tinker
With WireGuard you run the "front door" yourself, at home. It takes more work than Tailscale, but nothing passes through a third party. There are two ways to do it.
The easy way: a router that already has it
Some routers can create a WireGuard VPN with a few clicks. You switch the feature on in the router's menu, add a new connection for your phone, and the router shows you a QR code. You scan that code with the free WireGuard app and you are connected. If your router has this, it is by far the simplest route, so look through its settings or manual first.
The do-it-yourself way: your own small server
If your router does not have it, you can use a Raspberry Pi or an always-on computer. In plain words, here is what the job looks like:
- Install WireGuard on your home device. Helper tools such as PiVPN do most of the typing for you on a Raspberry Pi.
- Create a "key" for each device. A key is like a long secret password that proves a device is allowed in. Never share a private key with anyone.
- Open one door in your router. This is called port forwarding. Choose the type UDP and the number 51820, and point it at your home device. It is a common mistake to pick the wrong type, so double-check it.
- Give your home a permanent name. Your internet provider changes your home address every now and then. A free service such as DuckDNS or No-IP gives you a name that always finds your home, and many routers can update it for you.
- Set up your phone. The easiest way is to create the settings on your computer and turn them into a QR code. Then scan the code in the WireGuard app instead of typing long keys by hand.
A WireGuard settings file or its QR code contains a secret key. Do not post it online, do not send it in a chat, and do not take a screenshot you might share by accident.
If this list makes you tired just reading it, that is a sign to stay with Tailscale. There is no prize for the harder way, and Tailscale uses the same WireGuard technology underneath.
Using your VPN: files, cameras and printer
Once you are connected, use your home addresses exactly as you would on your home Wi-Fi. If your NAS lives at a certain address at home, open that same address and it just works. With Tailscale, you can also use the simple device name shown in the app.
Remember that devices which cannot run the app, such as cameras and printers, need the bridge described earlier. With Tailscale that is the subnet router. With WireGuard it is a small setting in the phone's configuration that tells it to send your home network's traffic through the tunnel.
A short safety checklist
A VPN only protects you when it is set up carefully. These are the essentials:
With Tailscale, your devices usually talk to each other directly and the traffic is scrambled. When a direct path is not possible, the traffic goes through servers run by the company, and it stays scrambled on the way. If you would rather not depend on a company at all, an open-source project called Headscale lets you run the same kind of setup yourself, but it needs more know-how.
If something does not work
It connects, but nothing opens
With Tailscale, make sure you finished the bridge setup for devices like printers and cameras and approved it on the admin page. With WireGuard, check your router and server settings, because sending traffic on to your home network is a step that is easy to miss.
WireGuard never connects
This is almost always the door in your router. Check that it is UDP, not TCP, that it points to the right device at home, and that the keys were not mixed up.
My provider shares one address between many customers
This is called CGNAT. A quick check: if the address shown in your router differs from the one a "what is my IP" website shows, you are probably behind it. Opening a door in your router will not work then. Tailscale is the easy fix because it does not need an open door. You can also ask your provider for a public address.
Internet (WAN)
Connection details from your provider.
| Status | Connected |
| Connection type | Dynamic IP |
| IP address | 100.72.15.8 |
| Gateway | 100.72.0.1 |
| Uptime | 3 days 04:12:55 |
Probably CGNAT
| ISP | Example Telecom |
| Location | Athens, Greece |
| Version | IPv4 |
It feels slow
Your speed away from home is limited by your home internet's upload speed, which is usually much lower than the download speed. That is normal and not the VPN's fault.
Tailscale says "relay" instead of "direct"
That means a direct path was not found, so your traffic takes a longer route. It still works but can be slower. Turning Tailscale off and on again, or switching to another network, often fixes it.
💬 Comments