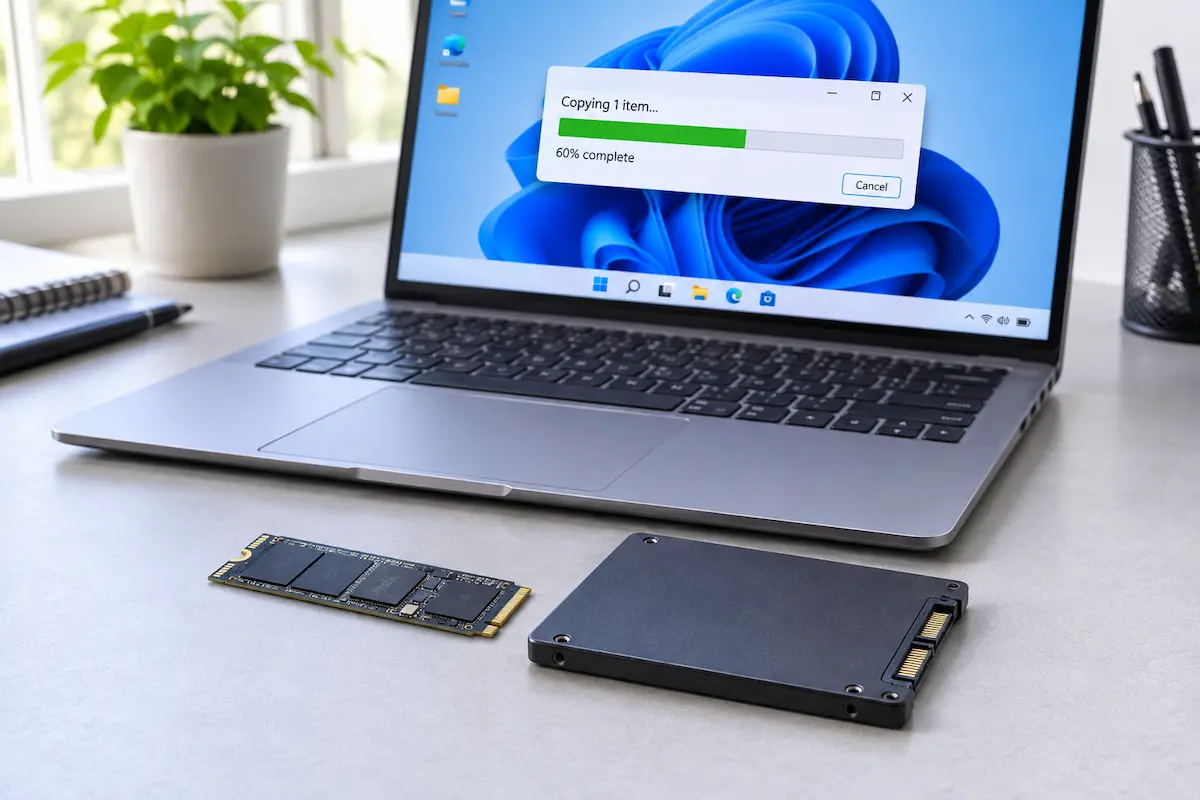
Getting a bigger or faster SSD should feel exciting, not stressful. But the moment most people realize they would have to reinstall Windows, set up every app again and hunt down their files, they put the upgrade off for months.
Here is the good news: you don't have to start from scratch. Cloning makes an exact copy of your old drive on the new one, so Windows, your apps, your settings and your files all come along for the ride. You swap the drives, switch on the PC, and carry on where you left off.
This guide walks you through the whole process in plain English, with free tools, a safety checklist and fixes for the problems people run into most often in 2026.
What cloning actually does
Cloning copies everything on one drive onto another: the Windows files, the hidden system partitions that make your PC start up, your programs, your settings and your personal files. The new drive ends up as a working twin of the old one.
That is different from simply dragging and dropping your folders. You can copy documents and photos that way, but you can't copy a running copy of Windows, and a plain copy won't be bootable. Cloning also differs from a backup image, which is a single big file you would have to restore later. A clone is ready to use straight away.
One thing to remember: everything on the destination (new) drive is erased during cloning. The old drive is only read, never changed. Double-check which is which before you press Start.
What you need before you start
The list is short, and you probably already own most of it:
- The new SSD. Its capacity only needs to be bigger than the space actually used on your current drive, not bigger than the whole drive. If you use 180 GB of a 512 GB drive, even a 256 GB SSD can work.
- A way to connect both drives at once. On a desktop, that usually means a free M.2 slot or SATA port. On a laptop with only one slot, you need a USB-to-SSD enclosure or adapter.
- Cloning software. Free options are covered in Step 3.
- An external backup of anything you can't replace. More on that below.
- One to three hours of spare time, and a laptop plugged into mains power.
Also check that the new drive physically fits. Laptops and desktops use different M.2 lengths (2280 is the most common, but some small devices use 2230 or 2242), and some older machines only accept SATA drives. Your PC's manual or its model page on the maker's website will tell you what it supports.
Step 1: Back up and prepare your PC
Cloning is very reliable, but it is also the moment when a slip of the mouse can wipe the wrong drive. A two-minute backup turns a disaster into a minor annoyance.
Back up what you can't replace
Copy your photos, documents and anything else irreplaceable to an external drive or a cloud service. You don't need to back up Windows itself. This is only a safety net for your personal files.
Save your encryption recovery key
Many Windows 11 PCs have drive encryption (BitLocker or Device Encryption) switched on without the owner realizing. Open Settings > Privacy & security > Device encryption to see whether yours is on. If it is, make sure your recovery key is saved in your Microsoft account or written down somewhere safe. After a drive swap, Windows may ask for it once.
Tidy up and update
- Uninstall apps you never use and delete leftovers such as old installers. Less to copy means a faster clone.
- Run Windows Update and restart, so you don't clone a half-finished update.
- Close everything else before you start cloning: browsers, games, cloud sync apps and downloads.
Step 2: Connect the new SSD
Now connect the new drive so that both SSDs are visible to the same PC at the same time.
On a desktop with a spare M.2 slot or SATA port, switch the PC off, unplug it, install the new drive and start up again. On a laptop with a single slot, plug the new SSD into a USB enclosure (or a SATA-to-USB cable for 2.5-inch drives) and connect it to a fast USB port. A USB 3.x port, usually the blue or marked one, makes a big difference to how long the clone takes.
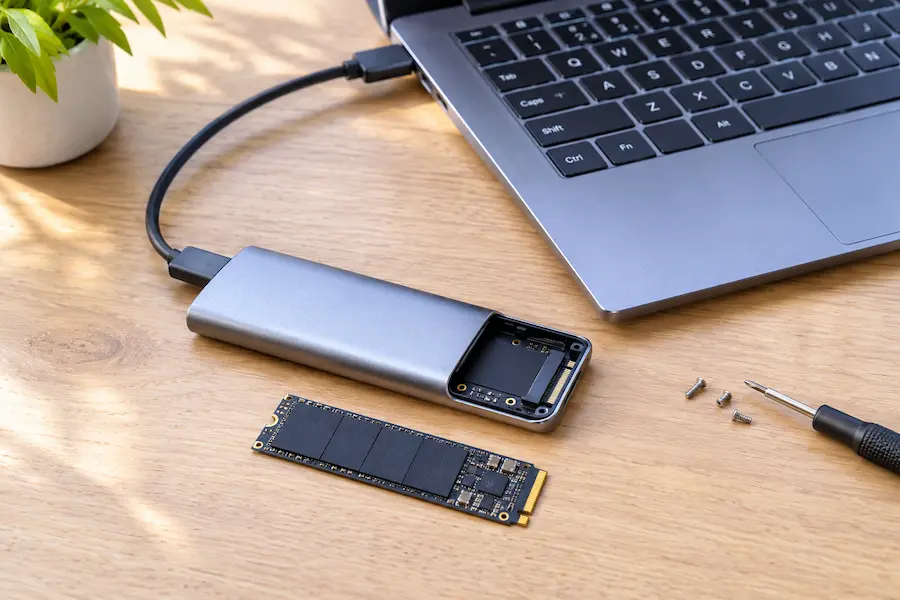
Once it is connected, right-click the Start button and choose Disk Management. You should see your current drive (Disk 0) and the new SSD (probably Disk 1). A brand-new drive usually shows up as unallocated space. If Windows pops up an "Initialize Disk" window, just close it. The cloning tool will take care of the setup.
260 MB
475.7 GB NTFS
Healthy (Boot, Page File, Primary Partition)
1 GB
953.87 GB
Take a note of the size and number of each disk. You will need them in a moment to pick the right source and destination.
Step 3: Choose a cloning tool
You don't need to pay for cloning software. These are the free options most people use in 2026. Tap a tool name to open its official page in a new tab.
| Tool | Cost | Best for | Difficulty |
|---|---|---|---|
| AOMEI Backupper Standard | Free edition (some extras are paid) | Beginners who want a Windows app | Easy |
| Hasleo Disk Clone | Free | Cloning Windows from inside Windows, without rebooting | Easy |
| Rescuezilla | Free, open source | Any drive brand, with a friendly point-and-click screen | Medium (bootable USB) |
| Clonezilla | Free, open source | Experienced users and any drive brand | Harder (text menus, bootable USB) |
| Samsung Data Migration | Free | Moving to a Samsung SSD | Easy |
| Acronis True Image (drive maker editions) | Free with a supported drive | Crucial, WD, SanDisk or Kingston SSD owners | Easy |
If your new SSD comes from Samsung, WD, SanDisk, Crucial or Kingston, check the maker's support page first. A free branded tool is often the simplest route, but it normally only works when the destination drive is one of that brand's own. For the Acronis editions, look for the one that carries your drive maker's name.
If your drive is from another brand, AOMEI Backupper Standard and Hasleo Disk Clone are the friendliest choices, because you run them from inside Windows. Rescuezilla and Clonezilla are open-source and run from a bootable USB stick instead. Rescuezilla is basically Clonezilla with a simpler, mouse-friendly screen, so it is the better pick if you don't like text menus.
One small catch with Hasleo: its free edition is built for copying one internal disk to another, so if you plan to clone through a USB enclosure, check the edition notes on its page first. Older guides also recommend the free edition of Macrium Reflect, but it has been retired, so skip those instructions.
Always download cloning software from the official website of the tool or your SSD maker, never from a random download portal.
Step 4: Run the clone
The exact buttons differ between programs, but the screens look very similar. Follow these steps in whichever tool you chose:
- Pick the clone or disk copy option. It is usually called "Disk Clone" or "Clone Disk".
- Choose the source disk. This is your current drive, the one with Windows on it. Match it by size and name against what you saw in Disk Management.
- Choose the destination disk. This is the new, empty SSD. Check the size twice. Picking the wrong one is the single biggest risk in the whole process.
- Turn on the SSD options. Tick "Align partitions" (sometimes called 4K alignment or "Optimize for SSD"). If the new drive is bigger, tick the option that fits the partitions to the whole disk so you get the extra space right away.
- Leave "sector by sector" off, unless the new drive is exactly the same size. It copies empty space too, which takes far longer for no benefit.
- Start the clone and confirm the warning about erasing the destination.
Now wait. A typical clone takes anywhere from 20 minutes to a couple of hours, depending on how much data you have, how fast both drives are and whether the new one is on a USB connection. Don't put the PC to sleep and don't unplug anything. When the tool says the clone is complete, shut the PC down properly.
Step 5: Swap the drives and boot
With the PC fully off and unplugged (or the laptop battery protected as the maker advises), remove the old SSD and put the new one into the main slot. On a desktop with two slots, you can simply remove the old drive for the first boot.
Don't boot with both drives connected at first. A fresh clone is an identical twin, and Windows can get confused by two drives with the same internal identifiers. It may set one of them offline or boot from the wrong one. Boot from the new drive alone, check that all is well, and only then reconnect the old one.
Switch the PC on and open the boot menu or firmware settings (usually by tapping F2, F10, F12, Esc or Del as it starts). Make sure the new drive, shown as Windows Boot Manager, comes first in the boot order. Many PCs find it by themselves, but it is worth a check.
Boot Option Priorities
Save, exit and let Windows start. The first boot can take a little longer than usual while Windows detects the new drive. If you see your familiar desktop, wallpaper and apps, the clone worked.
Step 6: Check that everything works
Don't wipe the old drive just yet. Spend ten minutes confirming that the new one is healthy.
Check your files and apps
Open a few documents, a couple of programs and your browser. Check that your recent files, photos and settings are where you expect them.
Use the extra space
If the new SSD is bigger and the C: drive still shows the old size, open Disk Management, right-click the C: partition and choose Extend Volume. If the option is greyed out, a small recovery partition may be sitting in the way. In that case a partition tool can move it, or you can simply create a second volume with the unused space.
Make sure TRIM is on
TRIM is a background feature that keeps an SSD fast over time. Windows normally switches it on by itself, but you can check. Open Terminal as administrator and run fsutil behavior query DisableDeleteNotify. If the NTFS result says 0, TRIM is active.
Confirm Windows is activated
Go to Settings > System > Activation. On the same PC, Windows should still show as activated.
Deal with the old drive
Keep the old SSD untouched for a week or two as a safety net. When you are sure that everything is fine, you can reconnect it as extra storage, format it, and use it for backups or games. If you plan to sell or give it away, use your SSD maker's secure erase tool rather than a quick format.
Common problems and how to fix them
The PC won't boot from the new drive
First, check the boot order in the firmware settings. Next, make sure the clone kept the same partition style as the original (almost all modern PCs use GPT with UEFI). If you used a USB enclosure, try the drive in its real slot, because some PCs won't boot reliably from an external connection.
The tool says the destination is too small
The used space on the old drive doesn't fit on the new one. Delete or move big files (videos, game libraries, old backups), empty the Recycle Bin, then try again.
Windows asks for a BitLocker recovery key
This is a security check after hardware changes. Enter the key from your Microsoft account (look for the recovery key page under your devices) and Windows will carry on as normal.
One of the drives shows as "Offline"
This happens when both twin drives are connected together. Shut down, remove one, and start again. Once you have confirmed the new drive is fine, format the old one before reconnecting it.
The clone is very slow
Check which port you used. A USB 2.0 port or a cheap cable can be ten times slower than USB 3. Switch to a faster port and, if possible, close all other programs while the tool works.
My experience
I did this exact upgrade on a laptop with a single M.2 slot: a 512 GB NVMe SSD with about 210 GB in use, replaced by a 1 TB drive. Windows 11 was fully updated and the new SSD sat in a USB-C enclosure on a blue USB 3 port.
The clone itself took a little under 40 minutes. The part that took longest was not the copying, but deciding which disk was which. Both drives were listed with generic names, and I only picked the right ones because I had noted the sizes in Disk Management first. I would not skip that check.
The first problem came right after the swap. The laptop asked for the BitLocker recovery key, which I had luckily saved beforehand. After entering it once, the PC booted straight to my desktop with every app and file in place, and it did not ask again.
Afterwards, C: still showed the old 476 GB size until I used Extend Volume in Disk Management. A small recovery partition sat in the way at first, and moving it with a partition tool solved it. TRIM was on, Windows was still activated, and I kept the old drive for two weeks before wiping it. The new drive felt a bit faster when opening large apps, but the real win was not having to reinstall anything.
💬 Comments