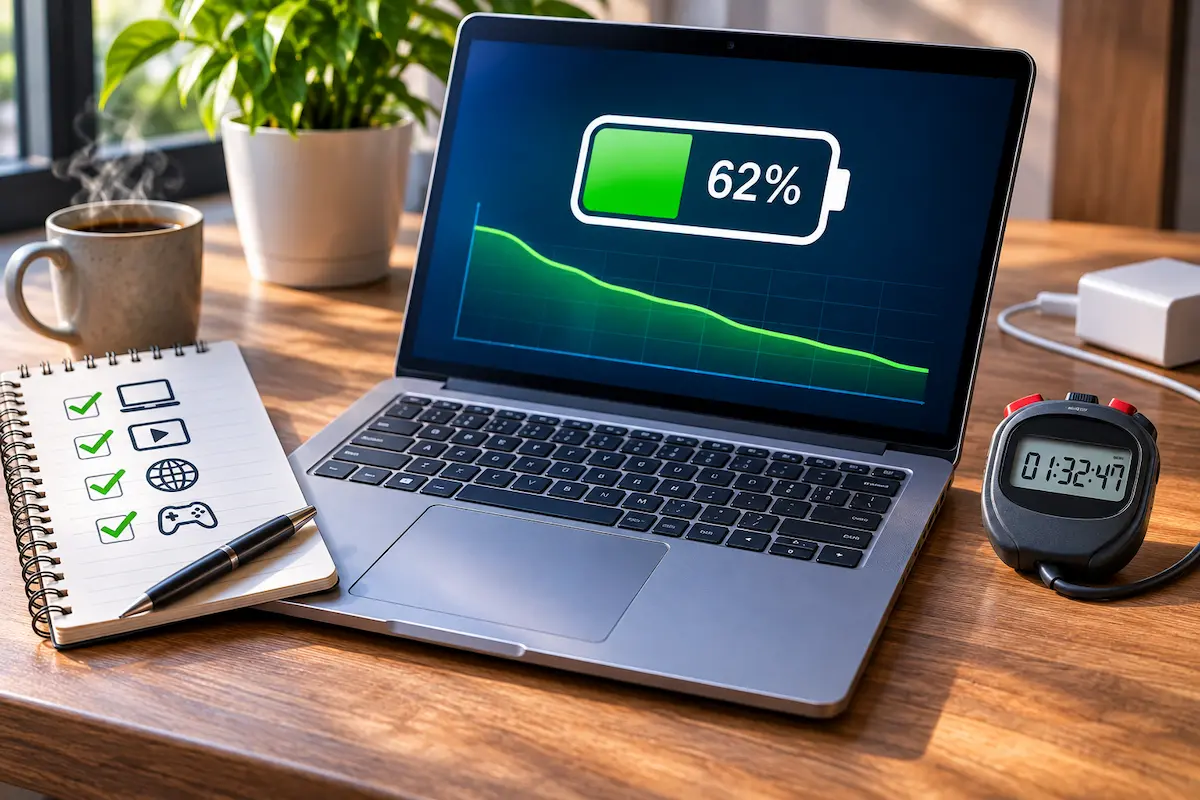
Your laptop says 100%, you unplug it, and two hours later it is begging for a charger. Sound familiar? The percentage on the screen only tells you how full the battery is right now. It says nothing about how long that charge will actually last when you browse, stream and work the way you normally do.
This guide shows you how to test your laptop battery in a way that reflects real life, using tools you already have. No paid software, no special equipment. Updated for 2026.
1. Why the battery percentage can mislead you
A battery meter is an estimate. Your laptop guesses the remaining charge from voltage, current and a bit of history, and that guess gets less accurate as the battery ages. It can jump from 30% to 12% in a minute, or sit on 1% for ten minutes. None of that tells you whether the battery is healthy.
Two things matter far more than the number on the screen:
Capacity. Every battery loses some of its ability to hold charge over time. A three-year-old laptop might only hold 80% of the energy it held when new, even though it still shows "100%" when full.
Runtime under your workload. The "up to 14 hours" on the box is usually measured with a dim screen and light video playback. Your habits are different: more tabs, brighter screen, video calls, maybe a few background apps.
A proper test looks at both. First you check how much capacity the battery has lost, then you measure how long it really lasts while you do normal things. Together they tell you whether your battery is fine, simply aging, or close to needing a replacement.
2. Prepare your laptop for a fair test
A battery test is only useful if you can repeat it later and compare the numbers. That means keeping everything the same each time. A little preparation goes a long way.
What you need
A fully charged laptop, your charger nearby, a phone with a stopwatch (or any clock), and a place to note readings. A notes app is perfect. Plan on a few hours of normal use, so pick an afternoon when you are working at the laptop anyway.
Before you unplug
Install any pending system updates and restart first. Updates, indexing and app syncing can run quietly in the background right after a restart and drain the battery faster than usual, which would spoil your result.
Charge the laptop to 100% and leave it plugged in for another ten to fifteen minutes. Many laptops report "full" a little early, and this gives the battery time to settle.
Test at normal room temperature, ideally somewhere between 20 and 25 °C. A hot room or a laptop sitting on a pillow makes the battery work harder and shortens the result. Heat is also one of the main things that ages batteries, which is why a laptop that runs hot deserves extra attention.
3. Step 1: Check battery health first
Before you drain anything, look at how much capacity the battery has lost. Every major system can show this, and it takes about a minute.
On Windows 11
Open the Start menu, type Command Prompt and open it. Then type powercfg /batteryreport and press Enter. Windows saves a report as an HTML file and prints its location, usually in your user folder. Open it in your browser.
Scroll to the Installed batteries section. Two numbers matter: Design capacity (what the battery could hold when new) and Full charge capacity (what it can hold today). Divide the second by the first and you have your battery health.
Battery life report saved to file path C:\Users\you\battery-report.html.
On a Mac
Open System Settings, go to Battery and click the small info button next to Battery Health. You will see a Maximum Capacity percentage. For the cycle count, hold the Option key, click the Apple menu, choose System Information and open the Power section.
On Linux
Open a terminal and run upower -i /org/freedesktop/UPower/devices/battery_BAT0. Compare energy-full with energy-full-design. Your battery may be named BAT1 instead of BAT0, so adjust if you get an error.
Some laptops, especially a few budget models, do not report these values at all. If your report shows the same number for both capacities, or nothing, do not worry. The drain test in the next steps works on any machine.
4. Step 2: Set up repeatable test conditions
Now decide how your laptop will behave during the test. The goal is not a lab benchmark. It is a realistic day that you can repeat in six months with the same settings.
Pick a workload that matches your life
Light: reading, writing documents, email and a few browser tabs. This is the easiest on the battery.
Mixed (best for most people): web browsing with around eight to ten tabs, a 1080p video playing now and then, a chat app open, and some document work.
Heavy: video calls, photo or video editing, or games. Expect much shorter runtimes, so test this separately if you really use your laptop this way.
If you are not sure, go with Mixed. Write down exactly what you did so you can do the same later.
Lock your settings
Set the screen brightness to a level you really use, such as 50%, and keep it there. Leave Wi-Fi on, since most people are online all the time. Turn off Bluetooth if you do not use it. Keep Battery Saver off, because you want to measure normal behaviour, and use the default power mode (on Windows 11 that is Balanced).
Finally, close anything you will not use, and pause cloud sync and automatic downloads. You are not trying to make the laptop look good, just to remove surprises.
5. Step 3: Run the real-world drain test
With the laptop at 100% and your settings locked, unplug the charger and start your stopwatch. Then simply use the laptop the way you decided in the last step.
Write down a reading every hour
Every 60 minutes, note the elapsed time and the battery percentage. It takes ten seconds and it gives you something much better than a single number at the end: you can see whether the drain is steady or whether it suddenly falls off a cliff, which is a classic sign of an aging battery.
You do not need to drain it to zero
Running a battery completely flat is not necessary, and doing it often adds wear. A simpler method is to test from 100% down to about 20%, then scale the result. For example, if the laptop went from 100% to 20% in 5 hours 20 minutes, that is 80% of the battery. Divide 5 hours 20 minutes by 0.8 and you get roughly 6 hours 40 minutes for a full charge.
At 20%, plug the laptop back in. Your test is done.
Windows also keeps its own record. In the same battery report, scroll to Battery usage and Battery capacity history to see how the full charge capacity has changed over weeks. If you run the report again next season, you can watch the trend.
6. Step 4: Read your results
You now have two results: battery health from Step 1, and real-world runtime from Step 3. Here is how to make sense of the first one.
| Battery health | What it means | What to do |
|---|---|---|
| 90% or more | Excellent. The battery is close to new. | Nothing. Test again in six months. |
| 80% to 89% | Normal wear for a laptop that is a year or two old. | Keep an eye on it. Avoid heat. |
| 70% to 79% | Noticeable decline. Runtime is clearly shorter. | Plan ahead. Check the price of a replacement. |
| Below 70% | Heavily worn. Surprise shutdowns become more likely. | Consider replacing the battery soon. |
Cycle count is a useful second clue. One cycle equals using 100% of the battery, whether in one go or spread over several days. Most laptop batteries are designed for somewhere between a few hundred and around a thousand cycles before they drop noticeably, depending on the maker and the chemistry. A high cycle count with good health is fine. A low cycle count with poor health suggests heat or a faulty cell.
Compare runtime with the claim on the box
Take your estimated runtime and compare it with the manufacturer's figure. Real-world use usually lands 30 to 40% below the claim, even for a healthy battery. If your result is around 60 to 70% of the claim, that is normal. If it is under half, check whether something is draining power (a heavy background app, a very bright screen) before blaming the battery.
Finally, repeat the test with the same settings later. The comparison is what matters. A drop of a few percent per year is expected, but losing an hour of runtime within a few months is worth investigating.
7. Mistakes that ruin battery tests
Testing right after a restart. Background indexing and updates can eat a lot of power in the first hour. Give the laptop a few minutes to settle, or restart earlier in the day.
Leaving Battery Saver on. It dims the screen and limits background work, so the result no longer reflects normal use.
Changing brightness mid-test. Brightness is one of the biggest power consumers. If you raise it halfway through, your numbers are not comparable.
Trusting a single reading. One odd percentage drop does not mean the battery is failing. Look at the whole log.
Testing on a hot day or a soft surface. Heat reduces runtime and speeds up ageing. Use a hard, flat surface with the vents clear.
Draining to zero again and again. One deep discharge for a test is fine, but doing it regularly just wears the battery faster.
Comparing with someone else's laptop. Screen size, processor and settings all change the result. Compare your own laptop with itself over time.
8. When it is time to replace the battery
Numbers are helpful, but a few signs mean it is time to act regardless of the percentage:
The laptop shuts down with charge left. If it turns off at 20 or 30%, the battery can no longer deliver power reliably.
Health below roughly 70%, or runtime has halved. You can still use the laptop, but it is probably not enjoyable anymore.
The battery gets very hot or charges unusually slowly. This can point to a failing cell.
Replacing a battery is often much cheaper than buying a new laptop, and many models have batteries that a technician can swap in under an hour. Use the manufacturer's service page or a trusted repair shop, and avoid unbranded batteries with unrealistic capacity claims.
My experience
I ran this routine on a four-year-old 14-inch Windows laptop with a 52 Wh battery, using the Mixed workload and brightness at 50%. The battery report showed about 84% health and roughly 300 cycles, which matched how the laptop felt.
My first attempt went wrong. I started right after a restart with updates still installing and cloud sync running, and the laptop only lasted around 4 hours 40 minutes. On the second run, with the same settings but everything settled in the background, I got an estimated full runtime of just over 7 hours.
That difference taught me the most useful lesson: the conditions matter as much as the battery. The hourly log also made it obvious that the drain was steady, with no sudden drops, which is a good sign.
💬 Comments