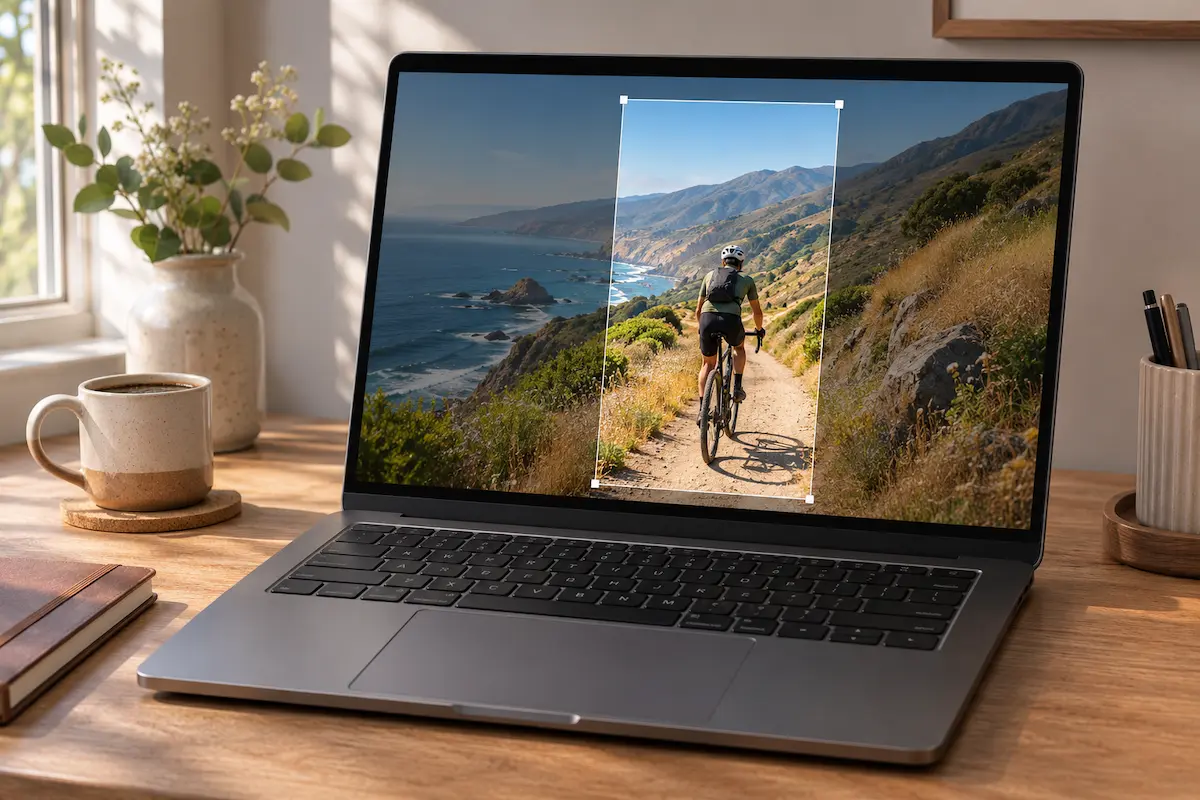
You take a photo you like, open it in an editor, and pick a vertical format for a Story. Suddenly half the scene is gone. Then you try a wide thumbnail, and the editor cuts into the top of the same photo. Both versions can start with the exact same file. The frame you ask it to fit is what changes.
Try the preview below with the sample photo or one of your own. Choose a square, portrait, or landscape frame and move it over the original. You will see which edges disappear, what stays visible, and how many pixels the crop keeps.
See what each crop removes
Start with the sample, then choose 1:1, 4:5, 16:9, or 9:16. The shaded area on the original is outside the crop. Drag the frame or use the position sliders to bring the important part of the picture back into view.

Loading the sample photo…
Sample photo by Neil Armstrong / NASA. Photo credit and source
The tool starts with the largest crop that fits inside the photo at the chosen shape. When the crop spans the full width, you can move it up or down. When it spans the full height, you can move it left or right. When the original already matches the ratio, there is nothing to move.
The pixel dimensions describe the part of the source image inside the frame. The percentage refers to image area, so a result that keeps 60% of the photo can still contain the entire subject. The preview is drawn in your browser. Choosing a local image leaves the original file intact.
Resizing and cropping do different jobs
Resizing changes how many pixels a picture has. A 4000 × 3000 photo can become 2000 × 1500 with everything in the same place. Both sides shrink by half and the picture keeps its original shape. The smaller version has fewer pixels to describe the same scene. In Paint, for example, the Resize and Skew window does exactly this as long as Maintain aspect ratio is ticked.
A 4000 × 3000 photo resized to 2000 × 1500 with Maintain aspect ratio ticked. Nothing is cropped.
Cropping chooses which part of the original stays visible. Turn that 4000 × 3000 photo into the largest square it can contain and you get 3000 × 3000 pixels. The crop uses the full height but removes a total of 1000 pixels across the width. A centred crop takes 500 pixels from each side. Moving the frame redistributes that loss.
The confusion comes from commands that ask for a width and height and then fill that frame automatically. If the new frame has a different shape, the editor needs a way to handle the mismatch. It can fill the frame by cropping, fit the whole image by adding space around it, or stretch the image. Those choices produce noticeably different results.
How to spot a change in shape
Aspect ratio is simply width compared with height. A 4:5 picture is four units wide for every five units of height, so it is taller than it is wide. Both 1080 × 1350 and 800 × 1000 have that shape. Writing the width first makes it easier to tell 16:9, a wide frame, from 9:16, a tall one.
If you only need a smaller copy and already like the composition, keep the width and height linked in your editor. If you need the picture to fill a frame with a different ratio, decide what to keep before changing the pixel dimensions. You can crop first, then resize what is left to the destination size.
What happens to a 4000 × 3000 photo?
Imagine a horizontal phone photo with one person near each edge. A wide 16:9 crop can keep both people if their heads and feet fit within the shorter frame. A 9:16 crop is much narrower. Moving it can save either person, but there may be no position that keeps both.
The same 4000 × 3000 photo inside each frame. The darker area is what the crop removes.
| Frame | Crop in pixels | Area kept | Where the crop cuts |
|---|---|---|---|
| 1:1 | 3000 × 3000 | 75% | Sides |
| 4:5 | 2400 × 3000 | 60% | Sides |
| 16:9 | 4000 × 2250 | 75% | Top / bottom |
| 9:16 | 1688 × 3000 | 42.2% | Sides |
These are the largest crops that fit the example, with pixel dimensions rounded where needed. The 16:9 crop keeps the full width and takes away some height. The 9:16 crop keeps the full height but leaves only about 42% of the original width. That is why a portrait version of a group photo can be difficult to frame.
Where the missing area comes from matters as much as the percentage. With 16:9, a little less sky may improve the picture. Moving that same frame down could cut off the top of the building instead. If you are working with a face, the space above the head and below the chin often matters more than the space at either side.
Choose what the frame should keep
For a square or portrait post
Start with the widest crop that fits the destination and check the subject from head to toe. If a person is near one edge, slide the crop towards them. Keep an eye on hands, feet, and anything they are holding. A tight crop can look deliberate until it cuts through one of those details. Most phone editors show the choice as a row of ratio buttons under the photo.
A typical phone editor: pick a ratio, then drag the photo or the frame to choose what stays.
For a group, check both ends of the line. A centred crop can give equal space to the middle of the picture while losing people on both sides. If you cannot fit everyone, choose another photo with more room around the group, or place the whole image on a canvas that matches the format.
For a vertical Story
A tall frame can work well with a single person, a building, or an object that stands upright. On a horizontal photo, slide the crop until that subject has room around it. Then make sure any label or sign you want readers to see is inside the same frame. If the platform adds text or buttons on top of the image, leave breathing room near those edges.
For a wide thumbnail
A wide crop usually makes it easier to place two elements next to each other. It can also cut into the parts above and below them. Look at the final thumbnail at a small size. If the subject blends into the background, changing the crop may be more effective than adding more elements to the frame.
Some services use one shape in a feed and another in a profile grid or link preview. The tool shows the geometry of the ratio you choose. Check the platform’s own preview before posting if the photo will appear in multiple views.
Keep the whole photo when it needs to fit
Use a canvas with the required shape, then centre the entire photo on it. You will see extra space above and below, or at the sides, depending on the two proportions. A plain background can make this look intentional and keep the attention on the image. The result fills the destination format without trimming the subject.
Stretching the image to fill the frame also keeps the edges, but it changes the proportions of everything inside. Circles can become ovals and faces can look elongated. If the original composition matters, fitting it inside a canvas usually gives you a more faithful result.
Same photo, same 9:16 frame. Only the middle option keeps every edge without changing proportions.
When you make several versions from one shoot, open the original for each new crop. A square export has already lost its side areas. Starting a wide version from that square prevents you from recovering what was outside it. Keeping the original lets you choose a new frame every time.
Check the pixels that remain
A narrow crop can look fine in the preview while leaving fewer pixels than the final use needs. For example, if your crop is 750 pixels wide and the destination calls for 1080, exporting at 1080 requires enlarging it. That may soften details, especially if the source was already compressed. Compare the crop’s pixel dimensions with the destination requirements before exporting.
If you are taking the photo yourself, leave extra room around the subject whenever you know you need both a wide and a vertical version. Then use the preview to choose the best framing for each. It is usually easier to remove empty space later than to try to rebuild an edge that never made it into the photo.
Quick cropping checklist
- Start from the original file and decide where the new image will appear.
- Choose the frame shape and check the important edges at the intended viewing size.
- Check the remaining pixels before exporting, especially after a narrow crop.
- Save a separate copy for each use so you can return to the original later.
💬 Comments