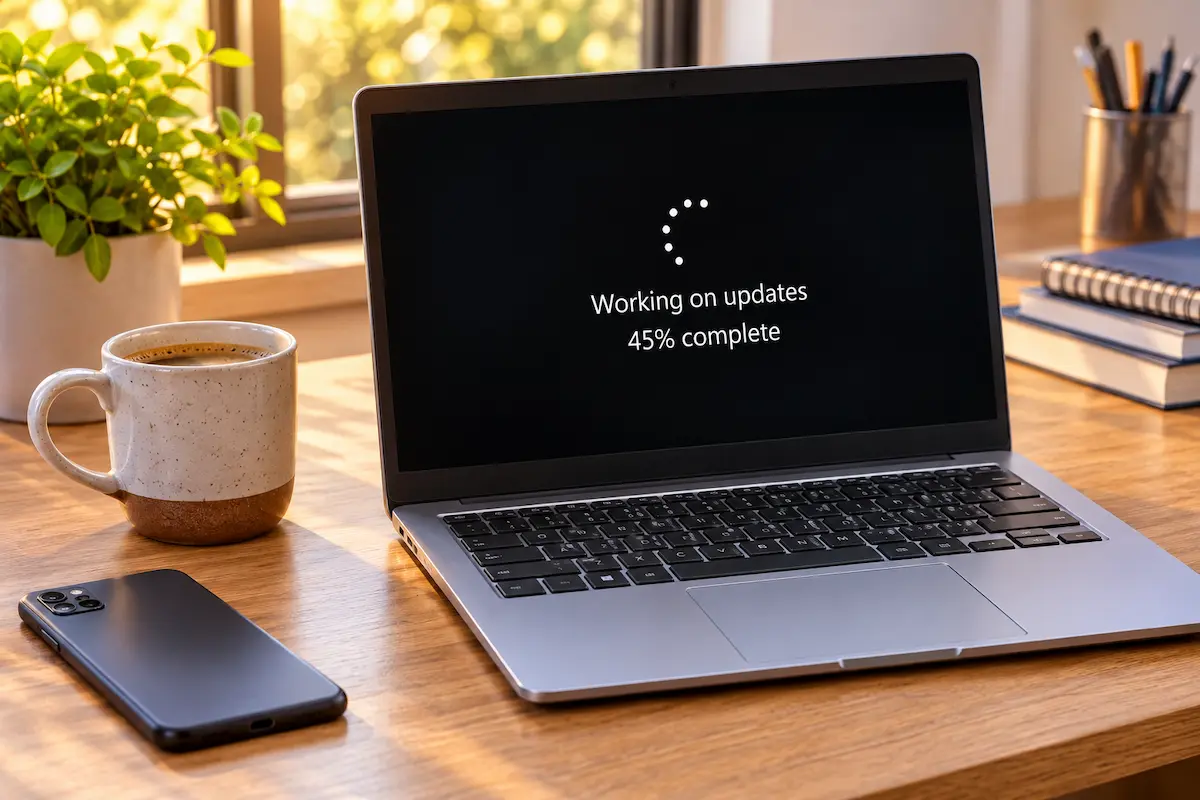
You click “Restart and install,” go make a coffee, and come back to a screen that still says 34%. An hour later, it hasn’t moved. A frozen Windows Update feels stressful mostly because the screen tells you not to turn anything off.
Most of the steps in this guide are designed to repair Windows without removing your personal files. However, no troubleshooting process is completely risk-free, especially if an update is interrupted or Windows needs to be reinstalled. Back up important files before making major changes. The steps below move from the least disruptive checks to Microsoft’s built-in repair tools and, only as a last resort, a repair installation.
1. Is it really stuck, or just slow?
Windows updates can look frozen even while installation is still in progress. The percentage may remain unchanged for a while, including during file preparation, component servicing and the stages just before a restart. Windows may be working in the background even when the progress indicator does not move.
Installation time varies with the update size, the PC’s hardware, available storage and connection speed. A routine cumulative update may finish relatively quickly, while a feature update or an older PC with a hard drive can take considerably longer. There is no universal time limit that proves an update is stuck. If the percentage changes, the PC restarts, or you can see ongoing disk or network activity, give it more time rather than interrupting it.
Look for signs of life
If you are still in Windows, you can look for signs of activity: a flashing drive light, changing CPU or disk activity in Task Manager (press Ctrl + Shift + Esc, then open Performance), or ongoing network activity. These are useful clues, not guarantees. Some PCs do not have a visible drive light, and brief periods of low activity are normal. On the black “Working on updates” screen, Task Manager is not available, so do not use the desktop checks as a reason to interrupt that stage.
Know where it’s stuck
The stage where it stops can help narrow down the cause. If it remains on “Checking for updates” or “Downloading 0%,” start with the troubleshooter in Fix 2, then consider the component reset in Fix 3. If it freezes during installation or on the black “Working on updates” screen, do not interrupt it immediately; read Fix 1 first. If Windows displays an error code, use the table in section 7 as a starting point.
2. Five minutes of prep before you fix anything
A little preparation makes every fix below safer. None of it takes long.
- Plug in your laptop. A battery dying halfway through an install is the worst way to end a stuck update.
- Check your free space. Open Settings, then System, then Storage. As a practical starting point, try to have at least 20 GB free before a major feature update; some updates need more, depending on the device and installation method. If you’re short, empty the Recycle Bin and use Temporary files on the same page.
- Disconnect nonessential peripherals. Temporarily unplug USB storage devices and docks. Keep the keyboard, mouse, network connection and power connected. This is a precaution, not a guaranteed fix.
- Note the details. In Settings, open Windows Update, then Update history, and write down the update name, its KB number and any error code. You will need them later.
- Back up what matters. The steps below are not intended to remove personal files, but troubleshooting and repair operations can carry some risk. Copy important documents and other irreplaceable files to OneDrive or an external drive first.
3. Fix 1: Restart the right way
If the PC is sitting on the black “Working on updates” screen, be patient first. This is a normal part of the installation process, and the percentage may remain unchanged for an extended period.
Don’t turn off your computer.
Force a shutdown only as a last resort—for example, if the screen has remained unchanged for several hours, the PC appears completely unresponsive, and there are no other signs that the installation is progressing. There is no guaranteed safe waiting time, and interrupting an update can cause a rollback or further startup problems. If you have to do it, hold the power button until the PC switches off, wait about 30 seconds, then turn it on again.
After the restart, Windows may resume and complete the update, or display “We couldn’t complete the updates. Undoing changes” and roll back the failed installation. If rollback begins, let it finish without switching the PC off. A rollback is a recovery mechanism, but it is not a guarantee that every interrupted update will recover without problems.
Once you are back at the desktop, use Restart from the Start menu before trying again. Restart performs a full Windows restart, whereas Shut down may use Fast Startup and preserve part of the previous kernel session. Then open Settings > Windows Update and select Check for updates.
4. Fix 2: Run the Windows Update troubleshooter
Windows includes an automated troubleshooter for update problems. In Windows 11, Microsoft recommends starting with the Windows Update troubleshooter in the Get Help app. Open Start, search for Get Help, launch the app, and follow its prompts for Windows Update problems. It runs diagnostics and may apply repairs; the actions it takes depend on what it finds.
If Get Help does not open or you need the built-in troubleshooter page, use these Settings steps instead:
- Press Windows + I to open Settings.
- Go to System, then Troubleshoot, then Other troubleshooters.
- Next to Windows Update, select Run.
- Follow the on-screen instructions in Get Help or in the troubleshooter window. The exact interface can vary by Windows 11 build.
- When it finishes, restart the PC and check for updates again.
Microsoft keeps an official page with more detail on this tool, which is worth a look: Troubleshoot problems updating Windows.
5. Fix 3: Reset the update components
Windows stores downloaded update files and related data in SoftwareDistribution. The catroot2 folder stores catalog information used by Windows cryptographic services to verify update packages. If this data becomes corrupted, renaming the folders can make Windows recreate them. This is a troubleshooting step, not a guaranteed fix. We rename the folders rather than deleting them, so the previous data remains available until you decide it is no longer needed.
Before starting, close Settings and any open Windows Update windows. Open the Start menu, type cmd, right-click Command Prompt and choose Run as administrator. Run each command separately, pressing Enter after each one. The commands below use %windir%, which points to your Windows folder. If either destination folder ending in .old already exists, do not overwrite or delete that backup; use a different unused suffix in the matching ren command.
net stop wuauserv
net stop bits
net stop cryptSvc
ren "%windir%\SoftwareDistribution" SoftwareDistribution.old
ren "%windir%\System32\catroot2" catroot2.old
net start cryptSvc
net start bits
net start wuauservRestart the PC, then check for updates. The Windows Update history shown in Settings may appear empty because its local database is stored in SoftwareDistribution. This does not uninstall updates that are already installed. Keep the renamed folders until you have confirmed that Windows Update works correctly; you can remove the backups later if you no longer need them. If a net stop command reports that a service is not running, continue with the next command. If a command reports “Access is denied,” stop and check that Command Prompt was opened as administrator.
6. Fix 4: Repair system files with DISM and SFC
If the update fails with an error associated with damaged or missing system components, Windows may have corruption in its component store or protected system files. Two built-in tools can help. DISM checks and repairs the Windows component store, which is the source used for system repairs. SFC then scans protected system files and replaces damaged versions when possible. Run DISM first and SFC second in an administrator Command Prompt.
DISM /Online /Cleanup-Image /RestoreHealth
sfc /scannowDISM can take several minutes or considerably longer, depending on the PC and the extent of the repair. Its progress indicator may pause for a while; do not close the window just because the percentage has stopped moving. An internet connection may be needed because DISM can use Windows Update to obtain repair files. When both commands finish, restart the PC and try Windows Update again. If SFC says it could not repair some files, review the CBS log or seek further diagnosis rather than repeatedly running the same commands without checking the reported error.
7. Decode the error code and install by hand
What the common codes mean
An error code narrows down the possible cause, but it is not always a diagnosis on its own. These are several common examples; the same code can have different causes depending on the update and Windows configuration:
| Code | What it usually means | Try this |
|---|---|---|
| 0x80070002 | Windows cannot find a file or update component it needs | Run the troubleshooter, then consider resetting the update components (Fix 3); also check date and time settings |
| 0x80070005 | Access is denied. This can involve permissions, protected system folders or security software | Do not disable antivirus as a first step. Run the troubleshooter and, if the error persists, investigate permissions and security software logs |
| 0x80070070 | Not enough disk space | Free up space (section 2) and retry |
| 0x80073712 | The Windows component store is in an inconsistent or corrupted state | Run DISM followed by SFC (Fix 4) |
| 0x800f0922 | May be related to insufficient space in the System Reserved or EFI System partition, a connection problem, or a Windows component such as .NET Framework | Check available storage and connectivity. If the problem persists, investigate the system partition and the specific component named in the update logs; disconnect a VPN only if you use one and suspect it is blocking access |
| 0x8024402c | The proxy or target server name could not be resolved | Check internet access, proxy configuration and DNS resolution; on a managed PC, contact the administrator |
For Microsoft's current list of common causes and recommended steps, see Troubleshoot problems updating Windows. If your code is not listed, search for the exact code together with the update’s KB number from Update history. Prefer Microsoft Support or Microsoft Learn documentation, and avoid applying registry changes or commands written for a different error.
Install the update manually
When one specific update keeps failing, you can bypass Windows Update and install it yourself.
- Copy the update’s KB number from Update history.
- Open the Microsoft Update Catalog and search for that number.
- Choose the package that matches your exact Windows version and architecture. Check Settings > System > About for the Windows edition, version and System type (for example, x64-based or ARM64-based). In the Catalog, make sure the update applies to your release and select the correct package; do not choose one based on architecture alone.
- Download the matching package only from the Microsoft Update Catalog. Open the downloaded MSU file and follow the installer prompts. If the package reports that it is not applicable, do not force it; recheck the Windows version, architecture and prerequisites.
8. Last resort: repair install and boot problems
A repair install that keeps your files
If the previous steps do not resolve the problem, a repair reinstall may help. The Fix problems using Windows Update option in Settings > System > Recovery reinstalls the current version of Windows and is designed to preserve personal files, apps and settings. Keep the PC connected to power and the internet throughout the process. If this option is unavailable, you can use official Windows 11 installation media instead.
- Back up your important files first.
- Download the Windows 11 ISO from Microsoft’s Windows 11 download page. Use installation media that matches your current Windows language, edition and architecture. Back up your files before continuing.
- While signed in to Windows, right-click the ISO file, choose Mount, open the mounted drive in File Explorer, and run setup.exe. Do not boot from the ISO or USB drive for this in-place repair.
- On the “Ready to install” screen, select Keep personal files and apps. Check the summary carefully before selecting Install. If that option is not available, cancel Setup and check that the installation media matches your current Windows language and edition.
Ready to install
Setup is ready to install Windows 11 on your PC.
Change what to keep
The PC will restart several times, and the process may take considerably longer than an hour. Keep the device connected to power and do not turn it off while Setup is working.
If the PC won’t start after an update
After repeated failed starts, Windows may open the Windows Recovery Environment automatically. If it does, choose Troubleshoot, then Advanced options. Try Startup Repair first. If that does not help and the problem began immediately after an update, choose Uninstall Updates and remove the latest quality update. Use the feature-update uninstall option only if the problem followed a feature upgrade and that option is available. If a suitable restore point exists, System Restore is another option; review the changes it will make before confirming.
9. What not to do
When updates misbehave, plenty of risky advice floats around. Skip these:
- Random “update fixer” downloads. Unknown repair utilities can bundle unwanted software or malware. Use Windows’ built-in tools and downloads from official Microsoft pages instead.
- Deleting files in System32 or WinSxS by hand. Windows needs them. Use DISM and SFC instead.
- Turning updates off for good. You lose security patches. Use Pause updates for one to five weeks if you need breathing room.
- Holding the power button early. Do not interrupt an update just because the percentage has not changed for a short time. An interrupted installation can trigger a rollback or cause startup problems.
- Registry tweaks from a forum post. If you don’t understand what a change does, don’t make it.
My experience
I tested this troubleshooting sequence on a Windows 11 25H2 laptop with 8 GB of RAM and a 256 GB SSD. A monthly update remained at 34% for about two and a half hours. While Windows was still running, Task Manager showed no disk activity for an extended period, so I eventually forced a shutdown. This was a last-resort decision, not a step to copy before checking for other signs of activity.
Windows rolled the update back, but the same update failed again with error 0x80073712. The troubleshooter reported nothing useful. DISM took roughly 15 minutes and was the step that actually fixed it, and the update installed on the next try.
The main lesson was not to judge an update by its percentage alone. After twenty minutes, the drive light was still flashing, so restarting then would have interrupted active work. I waited until the PC had shown no activity for much longer before taking the last-resort step.
💬 Comments