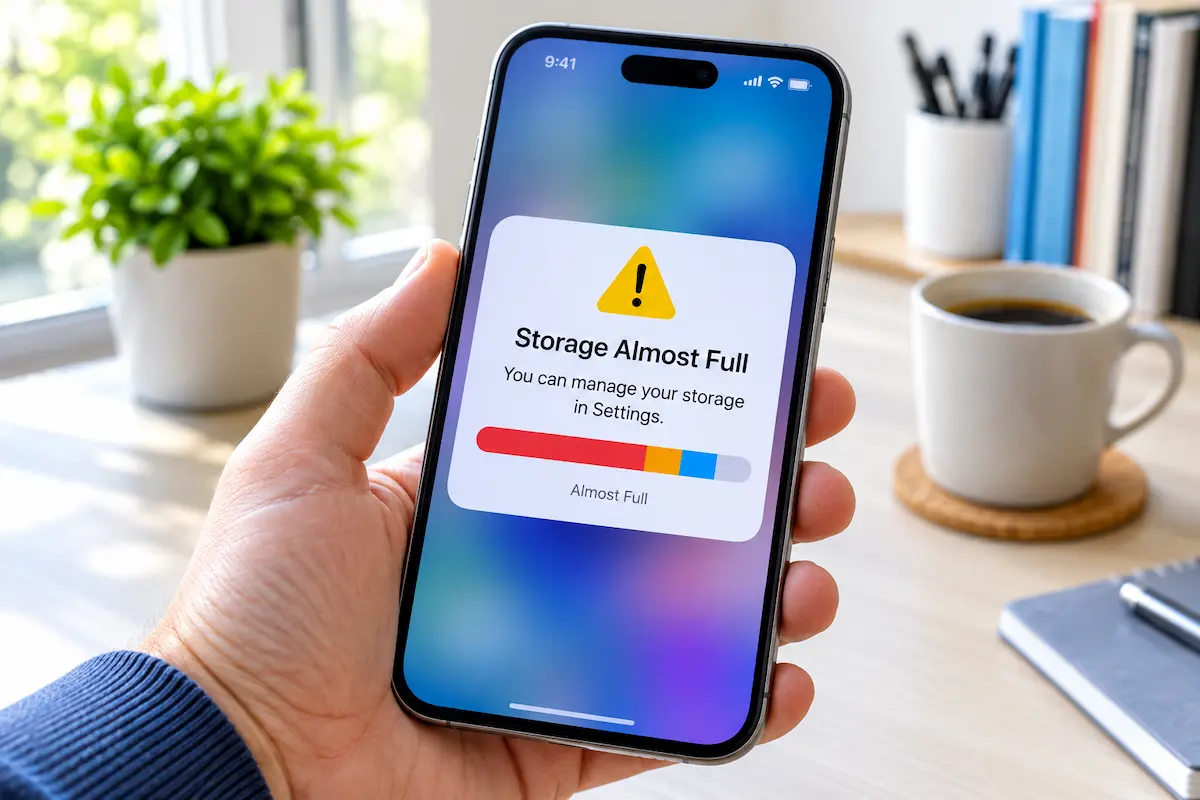
That “Storage Almost Full” alert always shows up at the worst moment: just as you’re about to photograph your kid’s first steps, or update an app you actually need. The good news is that you almost never have to delete a single photo to fix it.
This guide walks through the fixes in the order that works best in 2026, safe ones first. You’ll back up your photos, let iCloud shrink the copies kept on your phone, clear out the junk that piles up on its own, and only then decide if anything else has to go. The steps match iOS 26 and iOS 27, and older versions look very similar.
Why your iPhone says storage is full
An iPhone has a fixed amount of space. There’s no memory card slot, so a 128 GB model stays a 128 GB model for its whole life. Everything you keep on it (photos, apps, messages, downloaded shows) shares that one pot.
When the pot is nearly empty, iOS starts warning you. It can also stop you from taking photos, installing updates or downloading a new app.
What usually fills it
Open the storage screen on almost any full iPhone and the story is similar:
Two kinds of “full”
This trips up a lot of people. Your iPhone has its own storage, and your iCloud account has separate storage: 5 GB for free by default. The warning on your screen tells you which one is full. “iPhone Storage Almost Full” points to the phone. “iCloud Storage Full” points to your account.
The fixes are different, and this guide covers both.
Step 1: See what is actually filling your iPhone
Don’t start deleting at random. Spend one minute finding the real culprit. It saves a lot of effort.
General > iPhone Storage: the bar, the recommendation and the app list, biggest first.
The bar splits your used space into Apps, Photos, Messages, Media, iOS and System Data. Whichever block is widest is where you’ll win the most space. For most people that’s Photos, and the next steps are built around it.
Under “Recommendations”, iOS suggests quick wins such as Offload Unused Apps. Below that, the app list is sorted by size. Tap any app to see how much is the app itself and how much is its documents and data. A messaging app can be small while its data is huge.
Step 2: Make sure your photos are safe first
Before you delete anything, make sure every photo you care about exists somewhere other than your iPhone. This single habit is what “without losing photos” really means.
When iCloud Photos is on, deleting a photo on your iPhone removes it from iCloud and from your other devices too. It sits in Recently Deleted for 30 days, and then it’s gone for good.
Option A: iCloud Photos
This is the easiest route, and the one that unlocks the biggest space saving in the next step.
A partly filled circle around the icon means photos are still uploading. A yellow warning or a red exclamation mark means your iCloud storage is almost full or full, and nothing more will upload until you fix that. Wait until the status says everything is up to date.
Option B: Copy them to a computer
If you prefer to keep your own copy, connect the iPhone to a computer with a cable. On a Mac, use the Photos app or Image Capture. On Windows, use the Photos app’s import option, or open File Explorer, then Apple iPhone, Internal Storage and DCIM, and copy the folders.
Then open a handful of the copied files, including a video, to confirm they play. Keep the copy on a second drive if the photos matter to you.
Step 3: Turn on Optimize iPhone Storage
This is the biggest photo-safe win. With iCloud Photos on, Optimize iPhone Storage keeps your full-resolution originals in iCloud and leaves smaller, device-sized versions on the phone when space runs low. Nothing is deleted. Tap a photo and the full version downloads when you need it.
Apple says it’s on by default once iCloud Photos is on, but it takes seconds to check.
Settings > your name > iCloud > Photos.
Don’t expect the Photos number in iPhone Storage to drop the moment you switch this on. iOS swaps originals for smaller copies gradually, and mostly when space is getting tight. That’s the point: it works in the background, only when you need the room.
When iCloud itself is full
If your account is full, new photos can’t upload, so the iPhone has to keep every original. You have two ways out:
Free up iCloud. Open Settings, tap your name, then iCloud, and look at what is using the space. Old device backups and big attachments are common culprits.
Pay for more. iCloud+ starts above the free 5 GB, with bigger plans for larger libraries. Prices vary by country, so check the options on your own iPhone.
One caution: Download and Keep Originals stores every full-size photo on the phone. Only choose it if you have the space.
Step 4: Clean out photos and videos you won’t miss
Even with Optimize on, junk piles up: screenshots, duplicates, long videos you never watch. Open Photos, tap Collections and scroll down to find the shortcuts below.
Photos > Collections: Videos, Screenshots, Duplicates and Recently Deleted.
Empty Recently Deleted
Photos you’ve already deleted still use space for up to 30 days. Open Collections, scroll to Utilities, tap Recently Deleted (you may need Face ID), then tap Select and Delete All. This is permanent, so glance through it first.
Merge duplicates
Tap Duplicates under Utilities. iOS finds identical or near-identical photos and videos, and Merge keeps the best-quality version and combines the details. It’s one of the safest cleanups there is.
Screenshots and screen recordings
Most screenshots are useful for five minutes. Open Screenshots under Media Types, tap Select, pick the ones you don’t need and delete them. Screen recordings are far bigger, so check them too.
Look at your longest videos
Videos are the real space hogs. Open Videos under Media Types, use the filter and sort options, and review the longest ones. If you keep every original already, back them up first (Step 2) and delete the ones you’ll never watch again.
To stop the problem coming back, open Settings > Camera > Formats and keep High Efficiency selected: those photos and videos take less room. Then check Record Video. A minute of 4K at 60 frames per second can take several times more space than the same minute at 1080p, and that screen shows Apple’s estimate for each option.
Remember: with iCloud Photos on, anything you delete here disappears from all your devices.
Step 5: Offload apps instead of deleting them
Deleting an app removes the app and its data. Offloading removes only the app itself and keeps your documents and data. The icon stays on your Home Screen with a small cloud next to it, and tapping it reinstalls the app.
It’s perfect for big games, streaming apps and anything you only use now and then.
Do it automatically
Settings > Apps > App Store. Offloaded apps keep their icon, with a cloud badge.
On older versions of iOS, the same switch lives in Settings > App Store.
Or offload one app by hand
Go to Settings > General > iPhone Storage, tap the app, then tap Offload App. Start with whatever sits at the top of the list and you haven’t opened for weeks.
One thing to watch: if an app has been removed from the App Store, you can’t reinstall it after offloading. For those rare apps, keep them installed.
Step 6: Trim Messages, downloads and caches
These are the quiet space thieves. None of them is dramatic on its own, but together they often free several gigabytes.
Messages and chat apps
In iPhone Storage, tap Messages to see which conversations and attachments take the most room, then delete the ones you don’t need. To stop it building up again, go to Settings > Apps > Messages > Keep Messages and choose 30 Days or 1 Year instead of Forever.
Switching to 30 Days asks for confirmation, because the deletion is permanent.
Be careful here. Shortening the history deletes older messages and their attachments for good, so save any photos or videos you want to keep first.
WhatsApp and similar apps deserve their own look. In WhatsApp, open Settings, then Storage and Data, then Manage Storage to see what’s big. Also check whether it saves every received photo into your Photos library automatically; that creates a second copy of everything you’re sent.
Downloaded videos, music and podcasts
Offline downloads are easy to forget. Open each streaming app’s Downloads section and remove shows you’ve already watched. Do the same in Podcasts, and in the Music app’s downloaded songs.
Safari website data
Go to Settings > Apps > Safari and tap Clear History and Website Data. The gain is usually modest, and you’ll be signed out of some websites, so treat it as a small extra rather than a main fix.
The Files app
Open Files, check Downloads and On My iPhone, and delete old PDFs, installers and videos. Items you delete there also go to a Recently Deleted folder first.
System Data: the mystery category
System Data is the grey block in your storage bar that nobody asked for. It holds caches, logs and other temporary files that iOS creates and manages itself. You can’t open it, and you can’t clear it by hand.
It does change size, though. These things usually help:
Be wary of “cleaner” apps that promise to wipe System Data. iOS doesn’t let one app clean another app’s files or the system, so most of them only push subscriptions.
A full erase is a last resort. If you ever need it, our guide to factory resetting an iPhone shows how to do it without losing your data.
Which fix gives the most space? (and a monthly routine)
Here’s the quick view. The gains are rough, because every iPhone is different.
| Fix | Typical gain | Photos at risk? | Effort |
|---|---|---|---|
| Optimize iPhone Storage | Large | No, if uploaded | Once |
| Offload unused apps | Medium to large | No | Once |
| Merge duplicates | Small to medium | No | Minutes |
| Empty Recently Deleted | Small to medium | Only what you deleted | Minutes |
| Shorten Messages history | Small to large | Old attachments are lost | Minutes |
| Move photos to a computer | Large | No, after checking copies | Longer |
If it still isn’t enough
Some libraries are simply bigger than the phone. You have three honest options:
Pay for iCloud+. It keeps all your originals safe and lets the iPhone hold lighter copies. It’s the least effort once set up.
Move older photos to a computer or drive. Copy them, check them, then remove them from the phone. Some iPhones with a USB-C port can also work with an external drive, which is handy when you’re travelling.
Choose more storage next time. If you shoot a lot of video, buying a bigger iPhone is often cheaper than the headaches of a full one.
A 10-minute monthly routine
My experience
I ran this exact order on a 128 GB iPhone that kept showing the Storage Almost Full alert. It was at 121.4 GB used, with Photos and a few big apps taking most of it.
The biggest win was Optimize iPhone Storage: about 21 GB came back once the upload finished, which took a couple of hours on Wi-Fi while charging. Offloading unused apps freed another 8.9 GB (the recommendation had promised up to 9.8 GB). Emptying Recently Deleted gave 3.6 GB, trimming Messages 2.7 GB, and merging duplicates and clearing screenshots about 1.4 GB.
That’s 37.6 GB in total, and not one photo was deleted.
Two things went wrong along the way. First, iCloud was on the free 5 GB plan, so nothing was uploading and Optimize had nothing to work with. I only noticed the yellow warning in Photos after twenty minutes of wondering why the number wasn’t moving. Second, I came close to deleting photos straight from the library, forgetting that with iCloud Photos on they vanish everywhere. Check the sync status first. It takes ten seconds.
💬 Comments